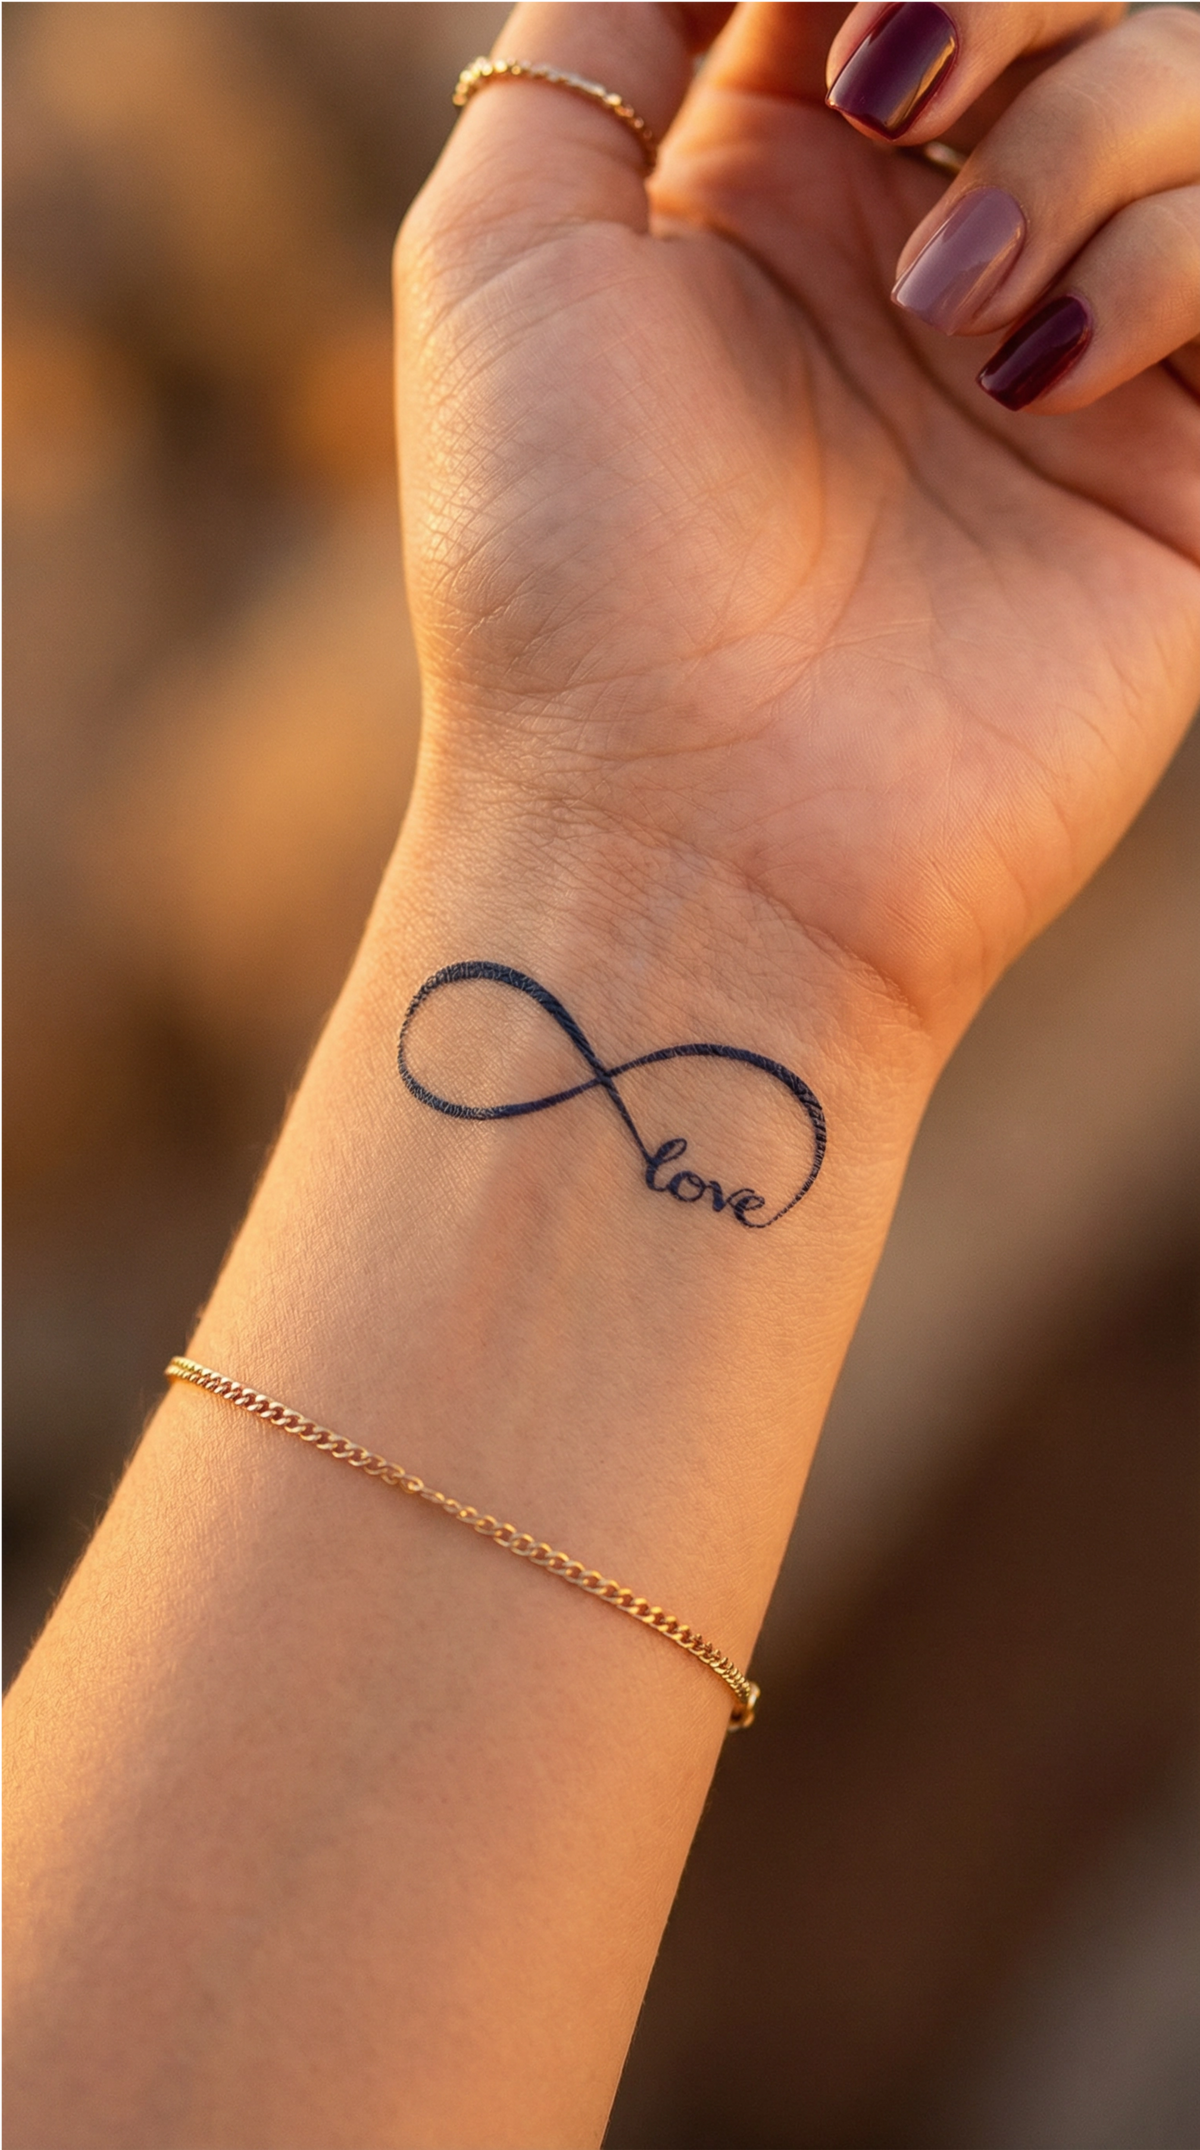


When you have several temporary tattoos and want them to look like one thoughtfully planned composition, it’s not just the designs you choose that matter, but three decisions you make before they touch your skin: which designs share a visual language, which piece sets the scale for the overall look, and how much open space remains between the motifs. Applying them follows the same steps as applying a single temporary tattoo, except the steps are repeated in an order that prevents a wet piece from being next to another that is still unfinished.
- Choose designs with a similar line weight and level of detail, even if their subjects differ.
- Place the largest or most detailed piece first, then add small designs that visually tie the composition together.
- Leave a consistent strip of bare skin between the designs instead of placing them edge to edge.
- Finish one piece completely, including peeling it off corner by corner, before wetting the next nearby piece.
Choose designs that truly work together
Cohesion between different designs comes primarily from a shared visual language — a similar line weight and a consistent color palette — rather than from their subjects matching thematically (source: How to Build a Cohesive Patchwork Tattoo Sleeve). That’s why the easiest place to start is with a set that already contains several motifs designed to work together, rather than buying several designs separately and hoping they’ll match.
A set with several motifs, instead of assembling separate pieces
Ornamental Set is exactly this kind of example: four fine-line ornamental bands — arrows, a feather, crescent moons, a north star, and the word love — sold as a bohemian set designed for several places on the body at once. Because the four bands already share the same line weight, you can simply choose how many pieces to use and where to place them, without having to think about whether they harmonize. To fill the gaps between the bands, Boho Set adds eight minimalist symbols — a mountain, a wave, a protective eye, a moon, and delicate branches — made for the small, discreet spaces around an anchor piece. If you’re drawn to a composition with Nordic symbols, Runic Alphabet brings together the complete runic alphabet, the vegvisir (a symbol of guidance), and protective seals associated with the Viking tradition on a single sheet; these symbols have real spiritual and historical significance, so they’re worth choosing and explaining with an awareness of their origins, rather than treating them as simple decoration.
When a contrast in styles works intentionally
Combining a bold, highly detailed piece with several designs in an extremely fine line tends to look unplanned, because the eye can’t find a common visual thread between them. Contrast can work, but only when it’s a clear choice — for example, one richer central piece surrounded by simple motifs that play the role of a background — and not the result of separate purchases made without thinking about how they look side by side.
Plan the look: anchor piece first, then fill the gaps
When planning a composition made up of several separate designs, place the anchor piece — the largest or most detailed one — first, on the flattest and most visible surface in the area you want to cover; it sets the scale for the rest of the composition (source: How to Build a Cohesive Patchwork Tattoo Sleeve). If you’re not sure what size makes sense for that area, the size selection guide will help you set this reference point before you add the smaller pieces. Only after the anchor piece is positioned do you add the small motifs, to tie the composition together and fill the remaining gaps, rather than scattering them without any connection to the central piece.
How much space to leave between two designs
A consistent distance of about 1–2.5 cm between separate designs, instead of placing them edge to edge, is what keeps a combined look legible rather than crowded; the bare skin around each piece is part of the composition, not wasted space (source: How to Build a Cohesive Patchwork Tattoo Sleeve). Small pieces work as connecting elements that fill the spaces between larger motifs, and the transition between them should feel continuous, not made up of isolated pieces placed side by side (source: How to Coordinate Multiple Tattoos into a Cohesive Sleeve). If your plan involves a single large piece perfectly aligned in a straight line, for example along your forearm, alignment tips for a single piece are still useful before you add the rest of the composition around it.
Test the placement before you start wetting anything
Before wetting any piece, place all the sheets, still on their backing paper, directly on your skin and move them around until you’re happy with the spacing and each one’s angle relative to the anchor piece. This dry run takes only a few minutes, but lets you correct a misplaced design before its position becomes permanent, unlike after wetting, when moving a piece that has already transferred is no longer possible.
Apply multiple designs without ruining any of them
Each piece follows the same steps as a temporary tattoo applied on its own: exfoliate and dry the skin, press the tattoo adhesive-side down after removing the protective film, wet it for about a minute until the backing paper is completely soaked, then slowly peel the paper away, from one corner to the other. The complete application guide explains each step in detail if this is your first time transferring a temporary tattoo.
Step by step for one piece, safely repeated for the next
- Finish the anchor piece completely, including peeling the paper away corner by corner, before touching any nearby piece.
- Only after the first piece is completely dry to the touch should you wet the next nearby piece.
- Work outward from the anchor piece so your hand or sleeve doesn’t pass over a design that’s still wet.
The order matters because a wet piece next to another that’s still being applied is the usual cause of stretched edges or designs smudging against each other. If a piece still doesn’t transfer completely or cracks in places, the troubleshooting guide covers the common causes and how to fix them without redoing the whole composition. For a composition that covers an entire arm with one large piece, rather than several separate designs, the technique for applying large pieces without wrinkles is the right option. The color of each piece starts out lighter and reaches its final blue-black shade over the next 24 hours, so you can judge the complete look of the composition only after all the pieces have settled, not immediately after application.
Common mistakes that spoil a combined look
A few problems come up consistently with compositions made from several temporary tattoos, and most are easy to check for before you get to the wetting stage:
- Pieces placed without any visual connection between them, leaving the eye with no clear path to follow.
- Designs crowded edge to edge with no open space, creating a cluttered look instead of a layered composition.
- Wetting a new piece while the nearby one is still sticky, the usual cause of stretched or smudged transfers.
- Choosing an area with joints or heavy friction for the anchor piece, which shortens the time the whole composition looks even.
A temporary tattoo composition shows how well several designs work together on your skin right now; it doesn’t tell you how those same motifs would heal, fade, or look exactly if you ever chose a permanent tattoo — that remains a separate decision, with its own criteria. If you want to start quickly with a set already designed for several placements, Ornamental Set remains the most direct starting point, while the Temporary Tattoo Packs collection brings together several sets built on the same principle, if you want to compare a few options before choosing.